From a receipt to a finished expense
Updated
This walkthrough follows one receipt from the file on your computer to a finished expense in your books, across three screens: Imports, Expenses and Reports. Each step links to the page that explains that screen in full.
Before you start
- The company is open and has at least one bank or card account (see Accounts).
- The receipt is a PDF, JPG, PNG or HEIC file on this computer, such as a photo from your phone that you saved to the computer.
- Receipts are read on this computer. An AI provider is asked only if you set one up and choose to use it; see What is sent.
1. Bring the receipt in (Imports)
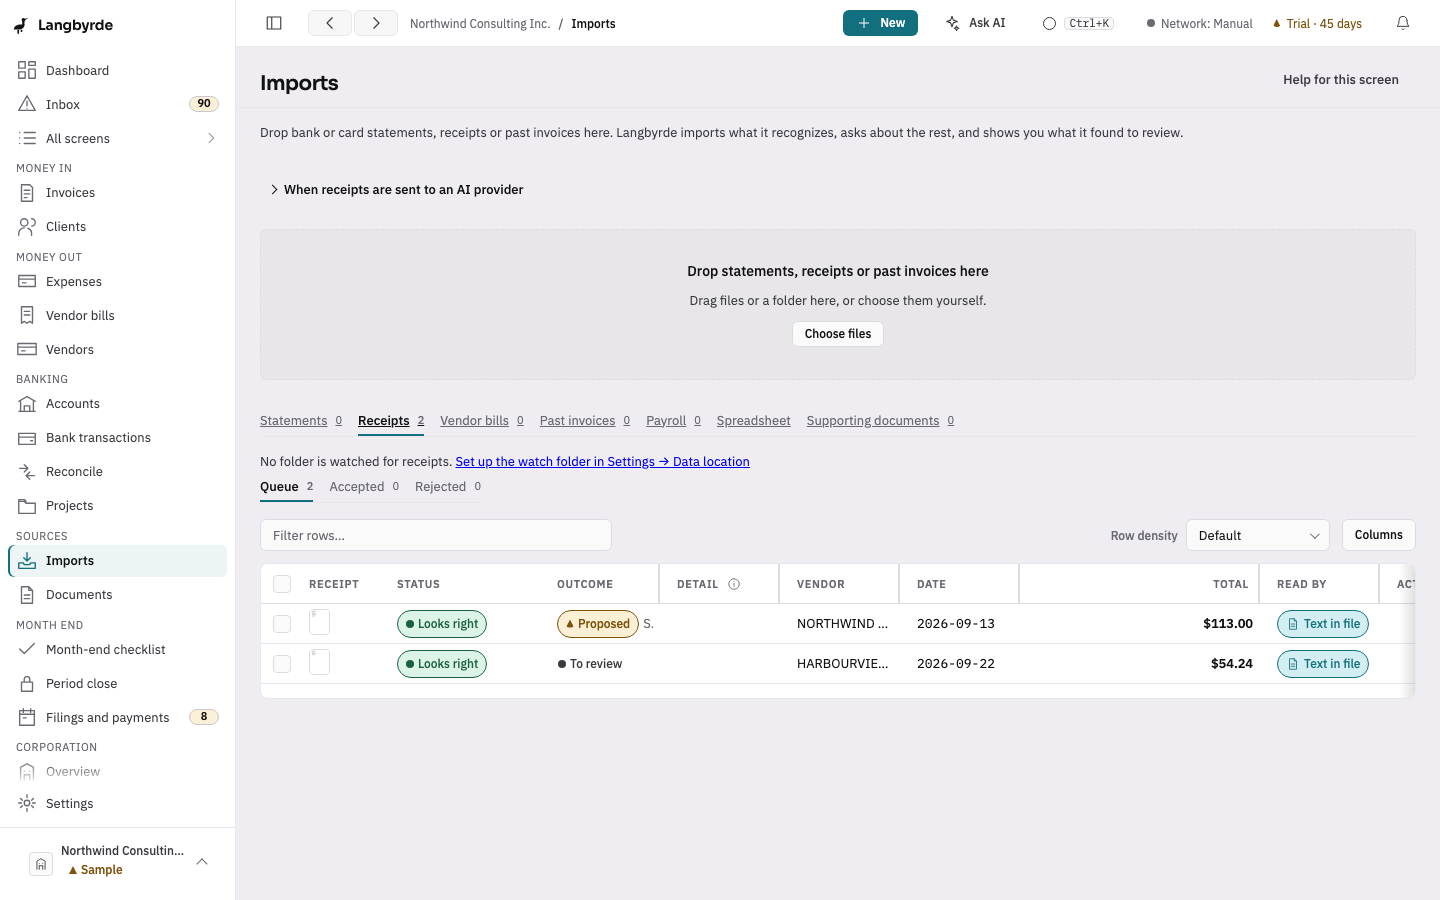
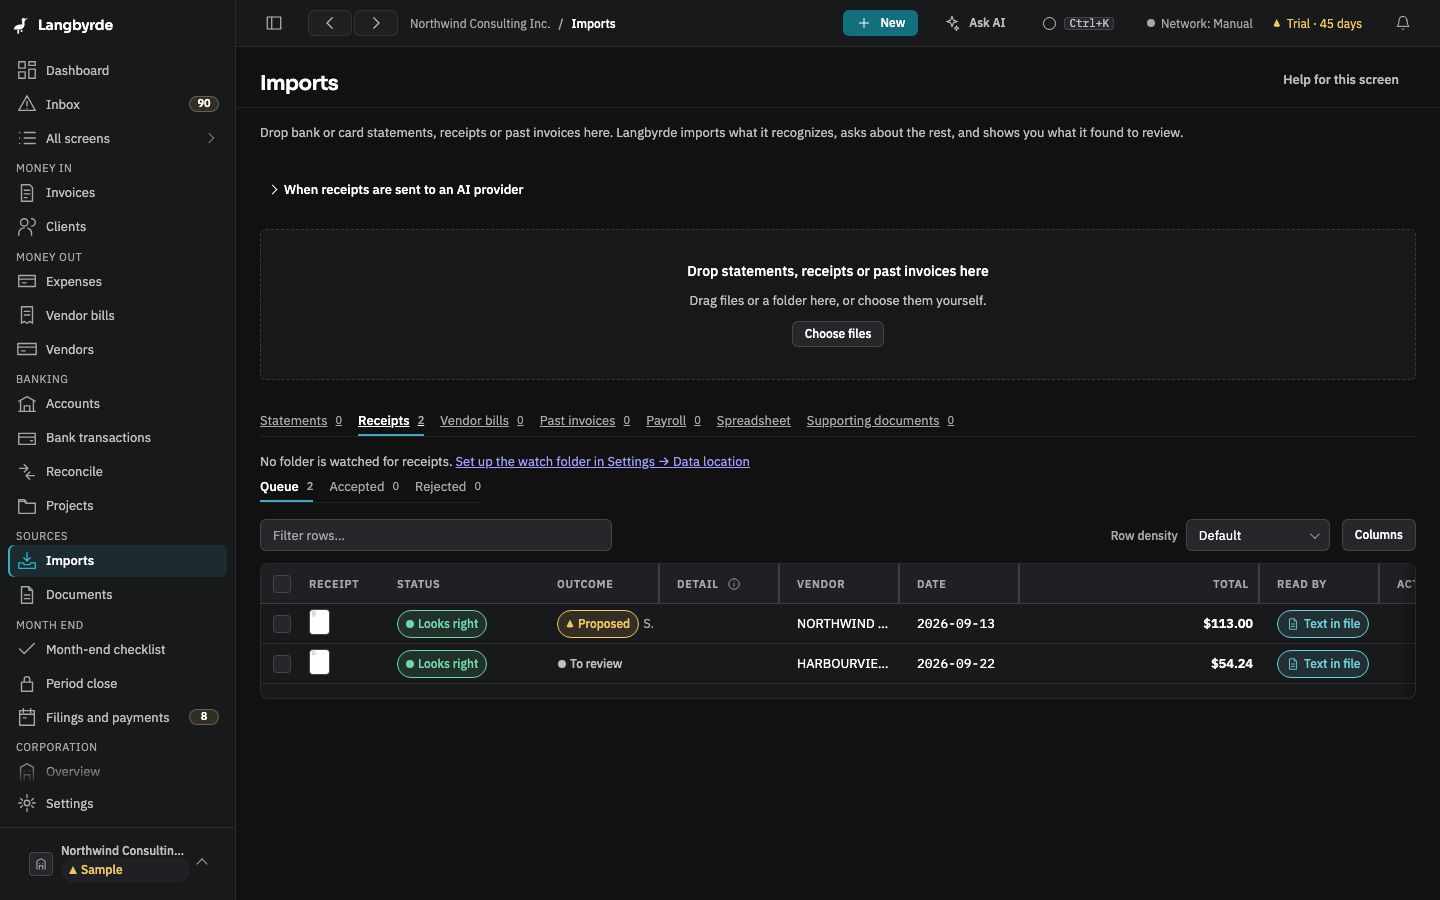
- Open Imports in the rail, under Sources.
- Drop the file on Drop statements, receipts or past invoices here, or anywhere on the window. A photo (JPG, PNG or HEIC) is taken as a Receipt and filed at once. A PDF is first checked as a bank statement; if it is not one, its row says Receipt (suggested) and waits for you: choose File as receipt on the row. A file dropped on the Receipts tab is filed as a receipt straight away. If Langbyrde guessed another kind, change it with Mark as a receipt in the row's More actions.
- The Receipts tab opens. The row says Filed as a receipt. Reading it on this computer…, then Read on this computer. Check what it read on the Receipts tab.
What you should see: the receipt filled in as a Proposed expense, with the vendor, date, amounts, tax and a suggested category, and the receipt attached. When exactly one bank or card line fits it, that line is shown as its suggested line.
If it does not match: a receipt with nothing on it to read says Nothing read, with the reason. A reading that did not finish within three minutes offers Retry. You can always record the expense by hand instead; see Recording an expense.
2. Check what was read and accept it (Imports)
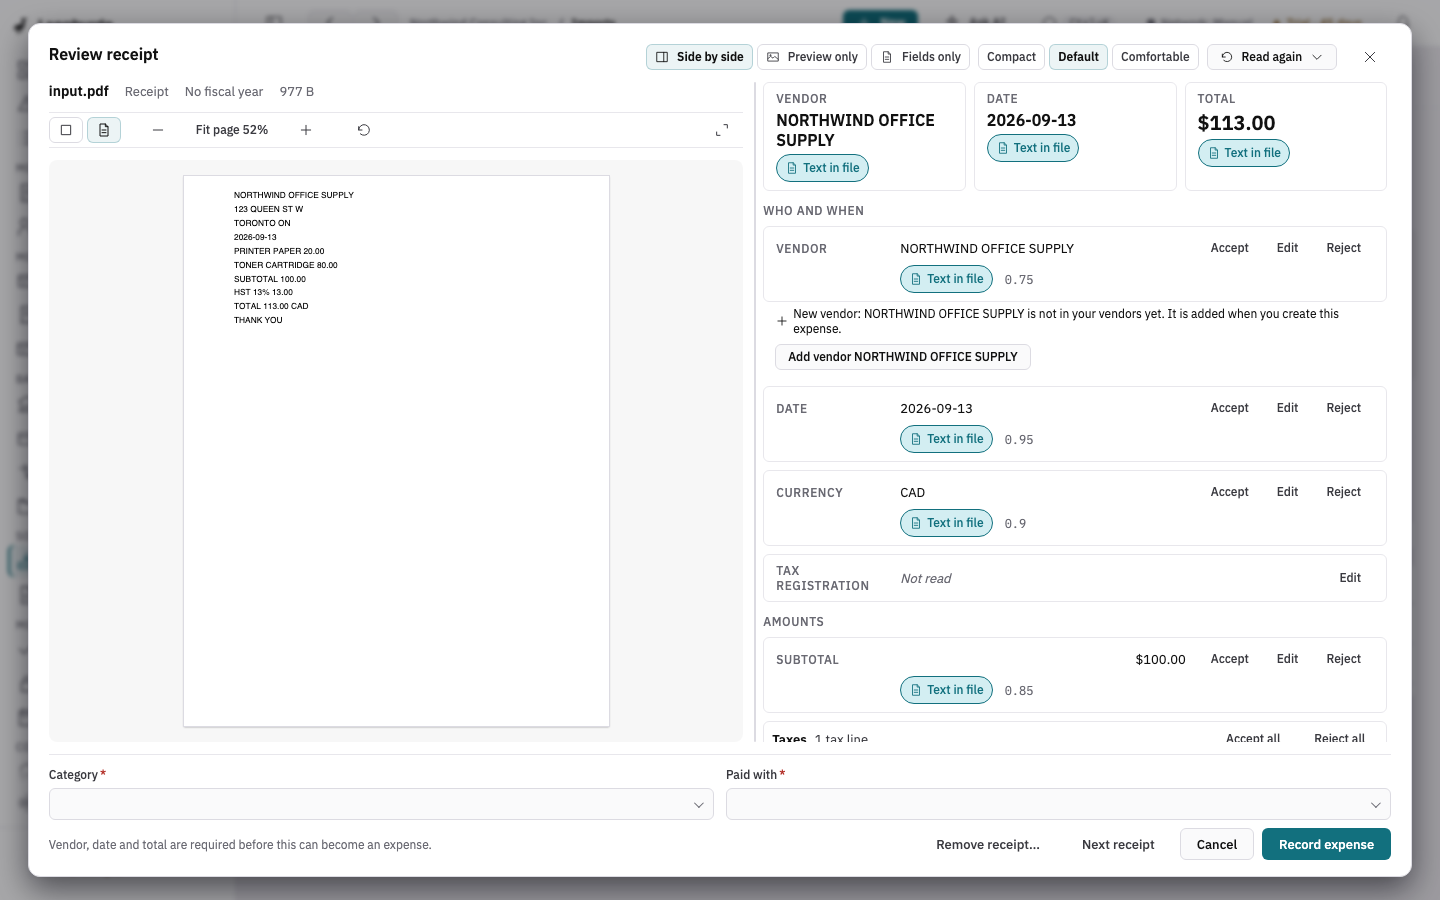
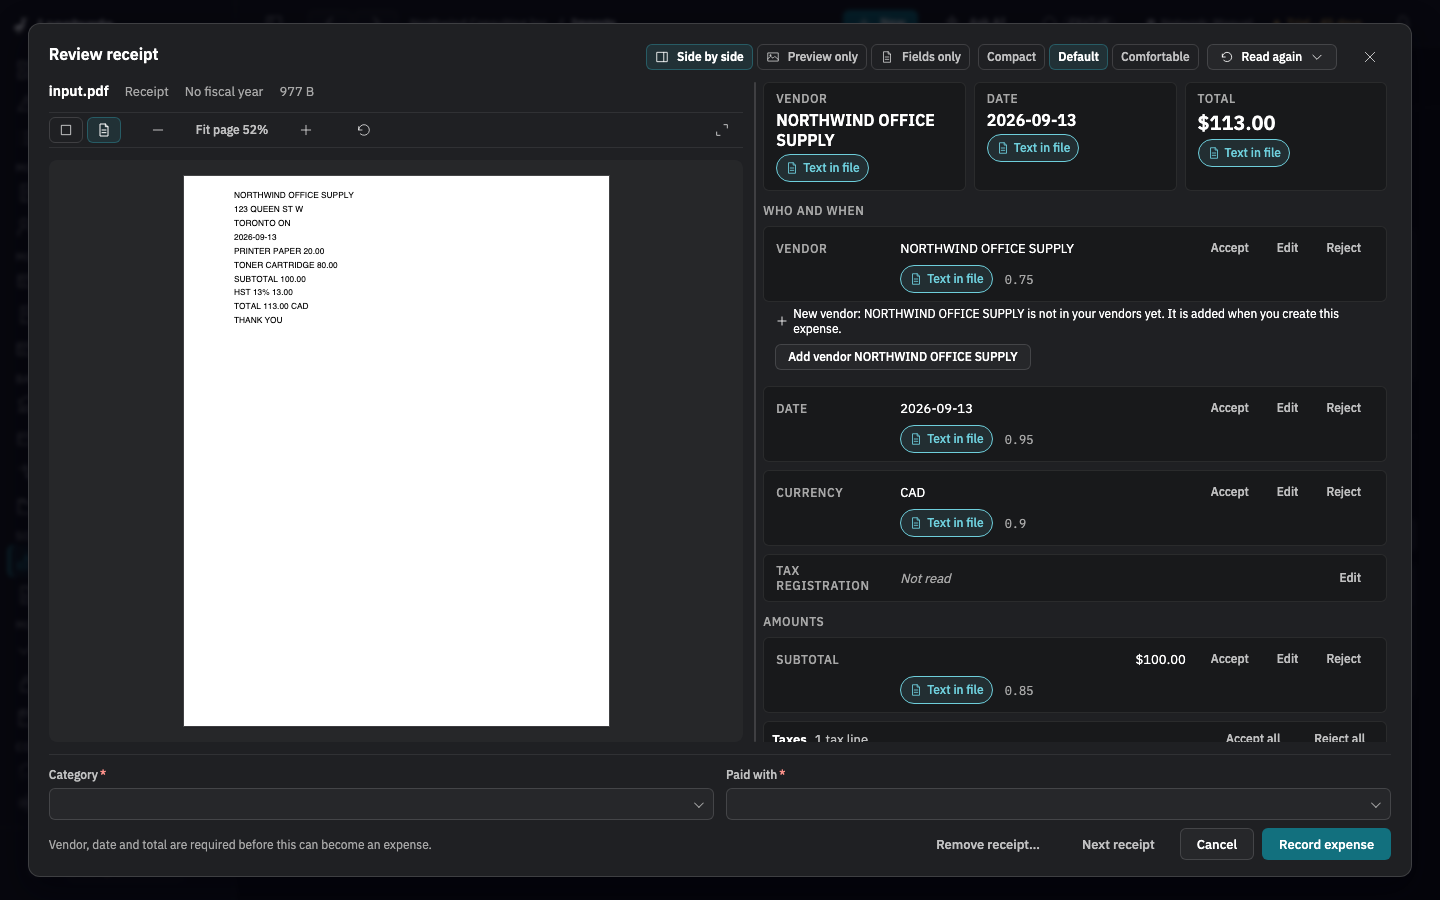
- Compare each value with the receipt: the vendor, the date, the amounts and the taxes. What was read is a suggestion and can be wrong.
- Choose Accept, or Accept with this line to match it to the suggested bank or card line in the same step. Nothing is recorded until you do.
What you should see: a message gives the new expense's number ("recorded", or "recorded and matched to its line"), and the receipt moves to the Accepted tab.
3. Finish the expense (Expenses)
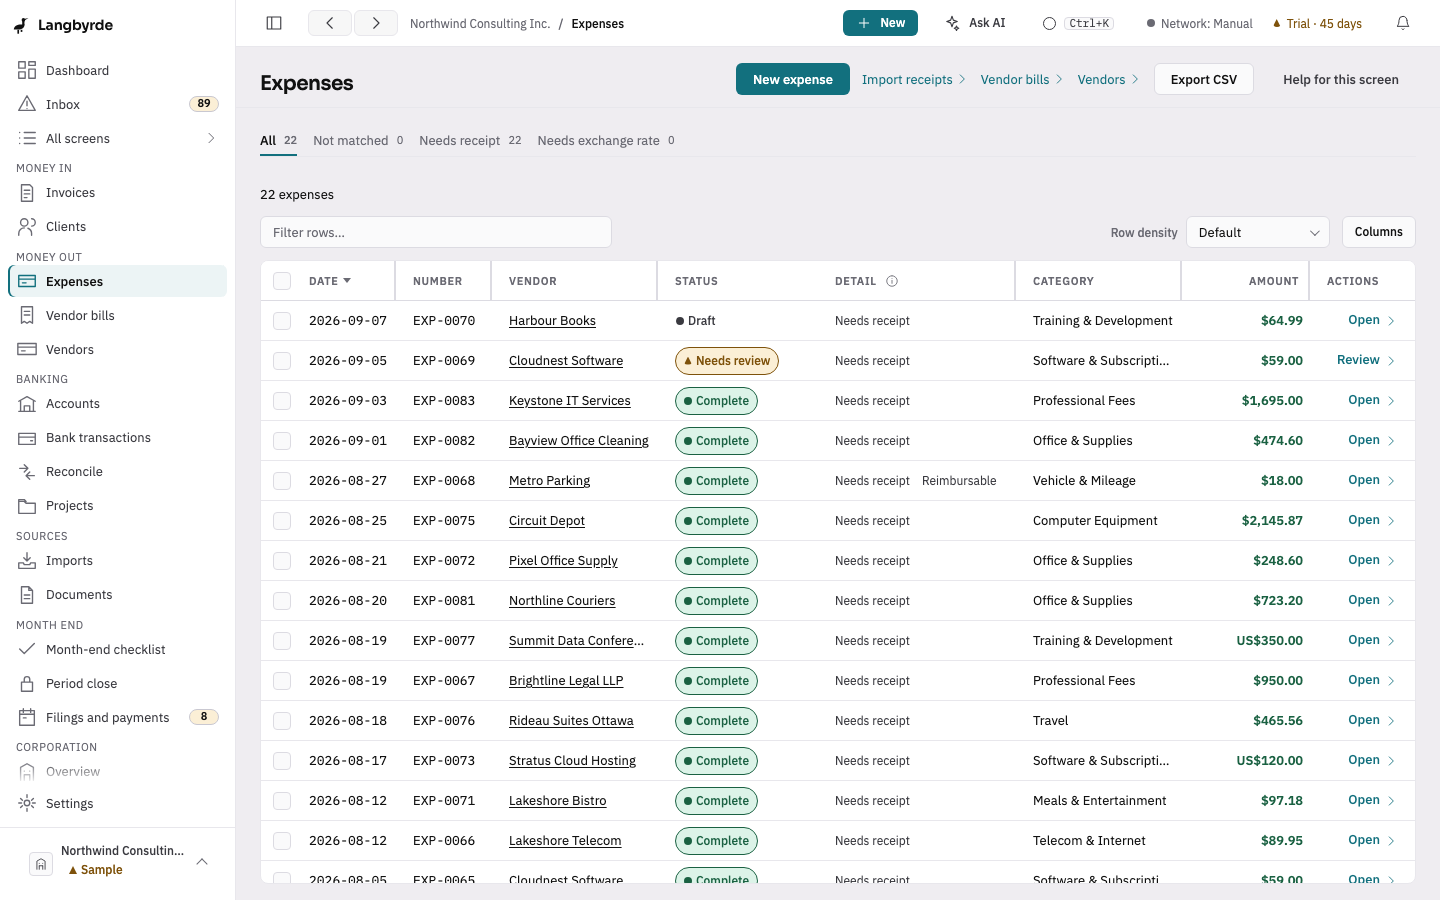
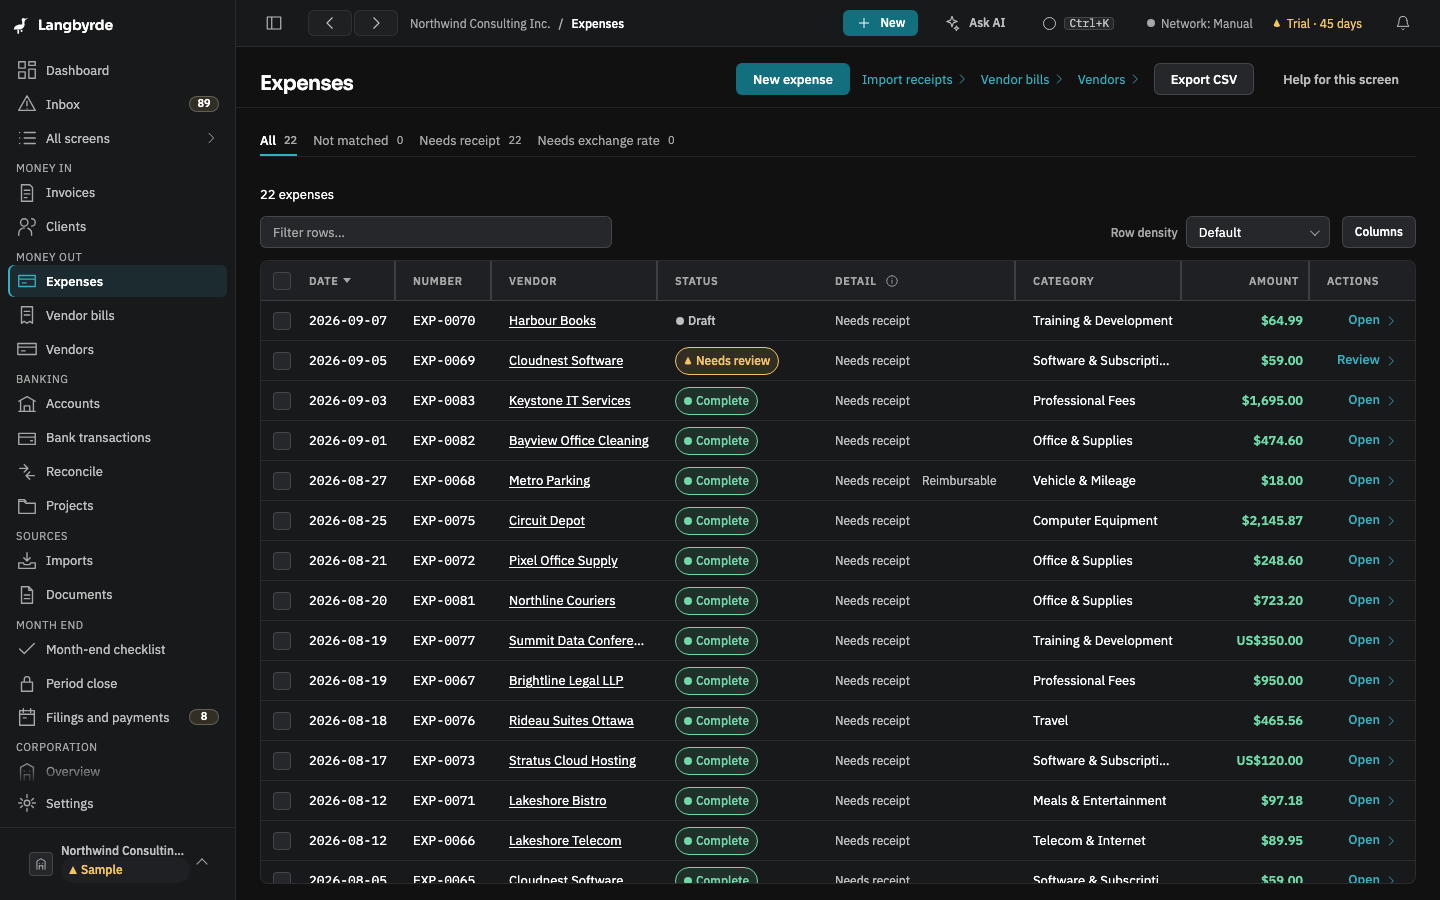
- Open Expenses in the rail, under Money out, and choose the new expense's row. It opens in the details panel beside the list.
- Read its status. Accepting the receipt recorded the expense as Complete, so it is already in your books. If something is still missing, the panel says what above the fields and marks the tab that fixes it.
- Check the Category and the Payment source. If you change either, choose Save.
What you should see: the status Complete. An expense marked Complete or Needs review is in your books; a Draft is not, and a Draft or Needs review expense offers Mark complete. The expense's Deductible and Input tax credit percentages are worked out by your company's tax rules; see What the disclaimers mean.
If it does not match: Needs a receipt means no file is attached (attach one under Receipt); Needs an exchange rate means a foreign-currency expense still needs its rate (add it under Tax). See Expenses.
4. See it in your reports (Reports)
- Open Reports in the rail, under Books.
- Choose the period the expense falls in, then the Income statement tab. The expense counts in its category's line.
If it does not match: a Draft expense is not in the reports yet. Check that the period you chose includes the expense's date. See Reports.
The figures in reports are worked out from your records; see What the disclaimers mean.